
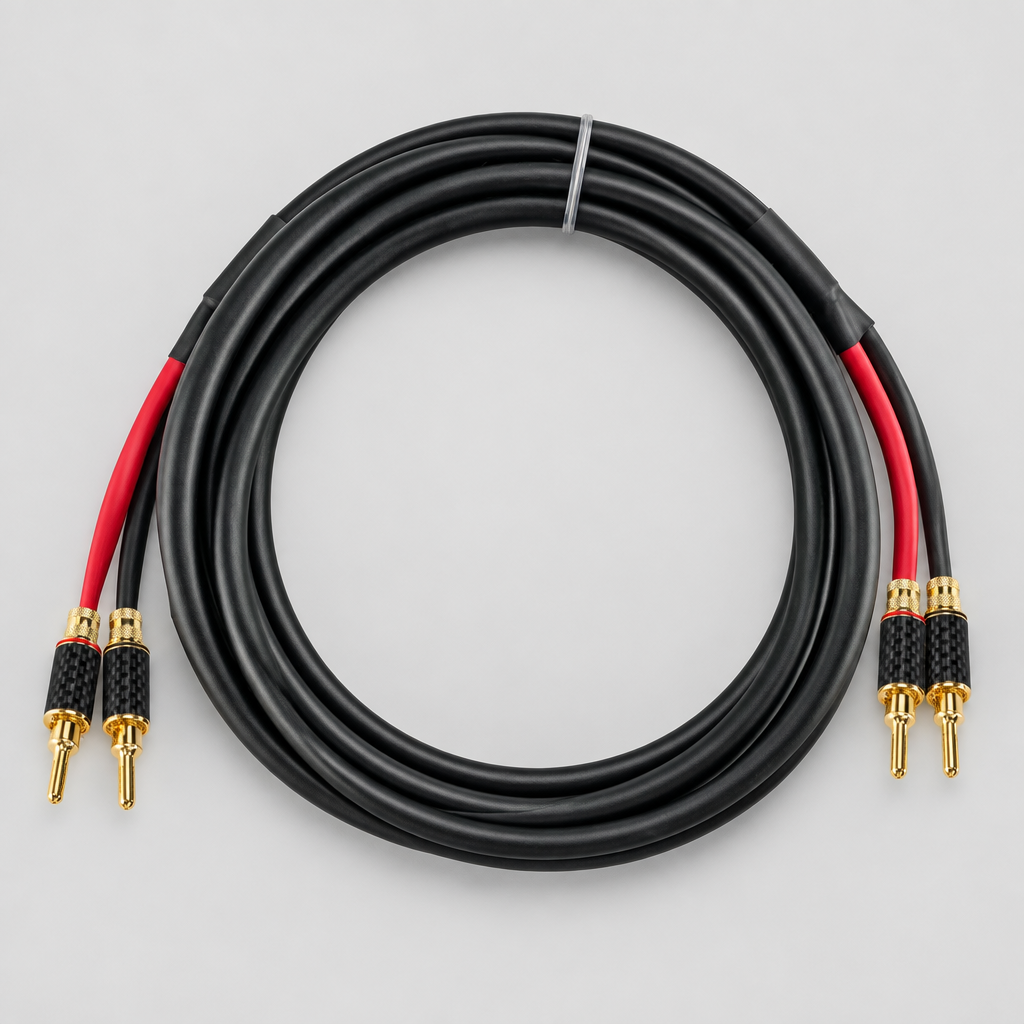
Choosing speaker cable starts with three questions: What equipment are you connecting, how far does the cable need to run, and which connectors fit your gear? The right answer is not always the thickest cable or the most expensive option. It is a cable that matches the electrical requirements, connections and working conditions of your system.
This guide covers cables between an amplifier and a passive speaker. If you are connecting a mixer or audio interface to a powered speaker, you typically need a line-level audio cable instead. Check your equipment manuals before buying.
1. Confirm that you need speaker cable
A passive speaker receives power from an external amplifier through its speaker cable. A powered speaker has an amplifier built in and usually receives a line-level signal through an XLR, TRS or other audio input.
Speaker cable and instrument cable are not interchangeable. Even when both have 1/4-inch plugs, their construction and intended use can differ. Use cable explicitly intended for speaker-level connections between an amplifier output and a passive speaker. Never connect an amplifier's speaker output to a line-level input.
2. Choose gauge based on length and speaker impedance
American Wire Gauge, or AWG, describes conductor size. A lower AWG number means a thicker conductor: 12 AWG is thicker than 14 AWG, which is thicker than 16 AWG.
Cable resistance increases with length and decreases as conductor size increases. Excessive resistance wastes some amplifier power in the cable and can affect the amplifier's control of the speaker. Lower-impedance speaker loads make cable resistance more significant, so a long run to a 4-ohm load generally calls for more attention to conductor size than a short run to an 8-ohm load.
As a practical starting point, 16 AWG may be suitable for shorter runs when the equipment manufacturer permits it. For longer runs or lower-impedance loads, consider 14 or 12 AWG. These are starting points, not universal distance or power ratings. Follow the amplifier and speaker manufacturers' cable recommendations, especially for high-output systems.
Measure the actual route, including corners, stands and racks. Leave enough slack to avoid pulling on connectors, but avoid buying a much longer cable than you need.
3. Match the connectors on both ends
The connector must fit the equipment and use the correct wiring. A plug that physically fits is not enough to establish compatibility.
speakON
speakON connectors are common on professional passive speakers and amplifiers. Their locking design helps keep the connection secure. Check the connector type and pin assignment in both equipment manuals. Systems using multiple circuits, bi-amping or bridged amplifier operation can require different wiring from a conventional two-conductor connection.
Banana plugs
Banana plugs are often used with compatible binding posts. Confirm that your terminals accept them, and keep positive and negative connections consistent. Do not assume every binding post supports the same termination.
Bare wire and spade connectors
Some binding posts and screw terminals accept bare wire or suitable spade connectors. Follow the terminal's wire-size limits. With bare wire, strip only as much insulation as needed and keep stray strands from touching the adjacent terminal.
1/4-inch TS plugs
Some amplifiers and passive speakers use 1/4-inch TS speaker connections. Choose a speaker cable with the appropriate plugs, not a guitar cable that happens to look similar. Check that the jack is actually a speaker connection.
4. Keep polarity and wiring consistent
For a conventional two-conductor speaker connection, connect the amplifier's positive terminal to the speaker's positive terminal and negative to negative. Reversing polarity on one speaker relative to another can cause cancellation where their output overlaps.
Follow the equipment's specified pinout rather than relying on cable color alone. Turn off the amplifier before connecting or disconnecting speaker cables, and check terminations for loose connections or exposed conductors.
5. Choose construction for the job
For portable live-sound systems, consider flexibility, jacket durability and reliable connector strain relief. For fixed installations, check the cable's rating against the installation location and applicable building requirements. Ordinary portable speaker cable is not automatically suitable for use inside walls or in plenum spaces.
Compare conductor material and published specifications, not just the outside diameter of the jacket. Copper-clad aluminum and copper conductors of the same nominal gauge do not have identical resistance, so do not treat them as interchangeable when choosing cable size.
What about bi-wire cables?
Bi-wiring uses separate conductor paths to a compatible speaker's high- and low-frequency terminals from the same amplifier channel. It is different from bi-amping, which uses separate amplifier channels. Only use a bi-wire arrangement when the speaker manufacturer supports it, and follow its instructions for terminal jumpers. Bi-wire cable is not a requirement for an ordinary single-input passive speaker and is not a guaranteed sound-quality upgrade.
A quick checklist before you order
- Confirm that the connection is amplifier-to-passive-speaker, not line-level audio.
- Check speaker impedance and the manufacturers' recommended cable gauge.
- Measure the cable route and allow practical slack.
- Match connector types and pin assignments at both ends.
- Choose a jacket and installation rating suitable for the environment.
- Check polarity, terminations and strain relief before powering up.
Find speaker cable for your setup
Browse speaker cables at Performance Audio to compare options, or explore custom speaker cables for your required connection and length. Before ordering, confirm each cable's conductor gauge, connectors and wiring against your equipment requirements.